The #1 Best Long Island Wine Tours Company since 2004
We are NOT Long Island Wine Tours the company but offer The Best Long Island Wine Tours to the East End, North Fork of Long Island. Our company is LI Vineyard Tours.® An exciting service offering the opportunity for Tastings and Tours to the outstanding Wineries at the East End of Long Island. Using our Limousines, Limo/Party Buses and our experience in providing quality service-since 2004, you are sure to enjoy the many wonderful packages LI Vineyard Tours® has to offer. We offer exciting wine tour gift packages for any occasion. Holidays, Birthdays, Anniversary’s, Mothers Day, Bachelorette Parties, Romantic Endeavors or just a Beautiful Relaxing Day of atmosphere, tasting and enjoyment.
When Only The Best Will Do
When you travel, you want to make good choices after all, there are only so many wines to taste and so many wineries to visit. Therefore, poor choices are much more consequential than they would be if you where to visit the vineyards every weekend. So you want to choose the right wineries to visit when you make your choices. That’s why LI Vineyard Tours® put specific wine tour packages together.
We offer the Best of the best when it comes to our wine tour packages. Try our Silver Packages, Gold Packages and Platinum Wine Tour Packages. Our most affordable bachelorette tasting package is our Gold Package. We offer 3 Vineyards or 8 hours which ever come first. All wine tour booking come with the transportation included as always. We do not offer sedans or van service. All of our vehicle are either limousines or party buses. You are sure to enjoy the #1 Champagne of Wine Tour Providers, LI Vinegar Tours.®
Call us today for a fast, free quote at (516)-WINE-TOURS & (718)-WINE-TOURS
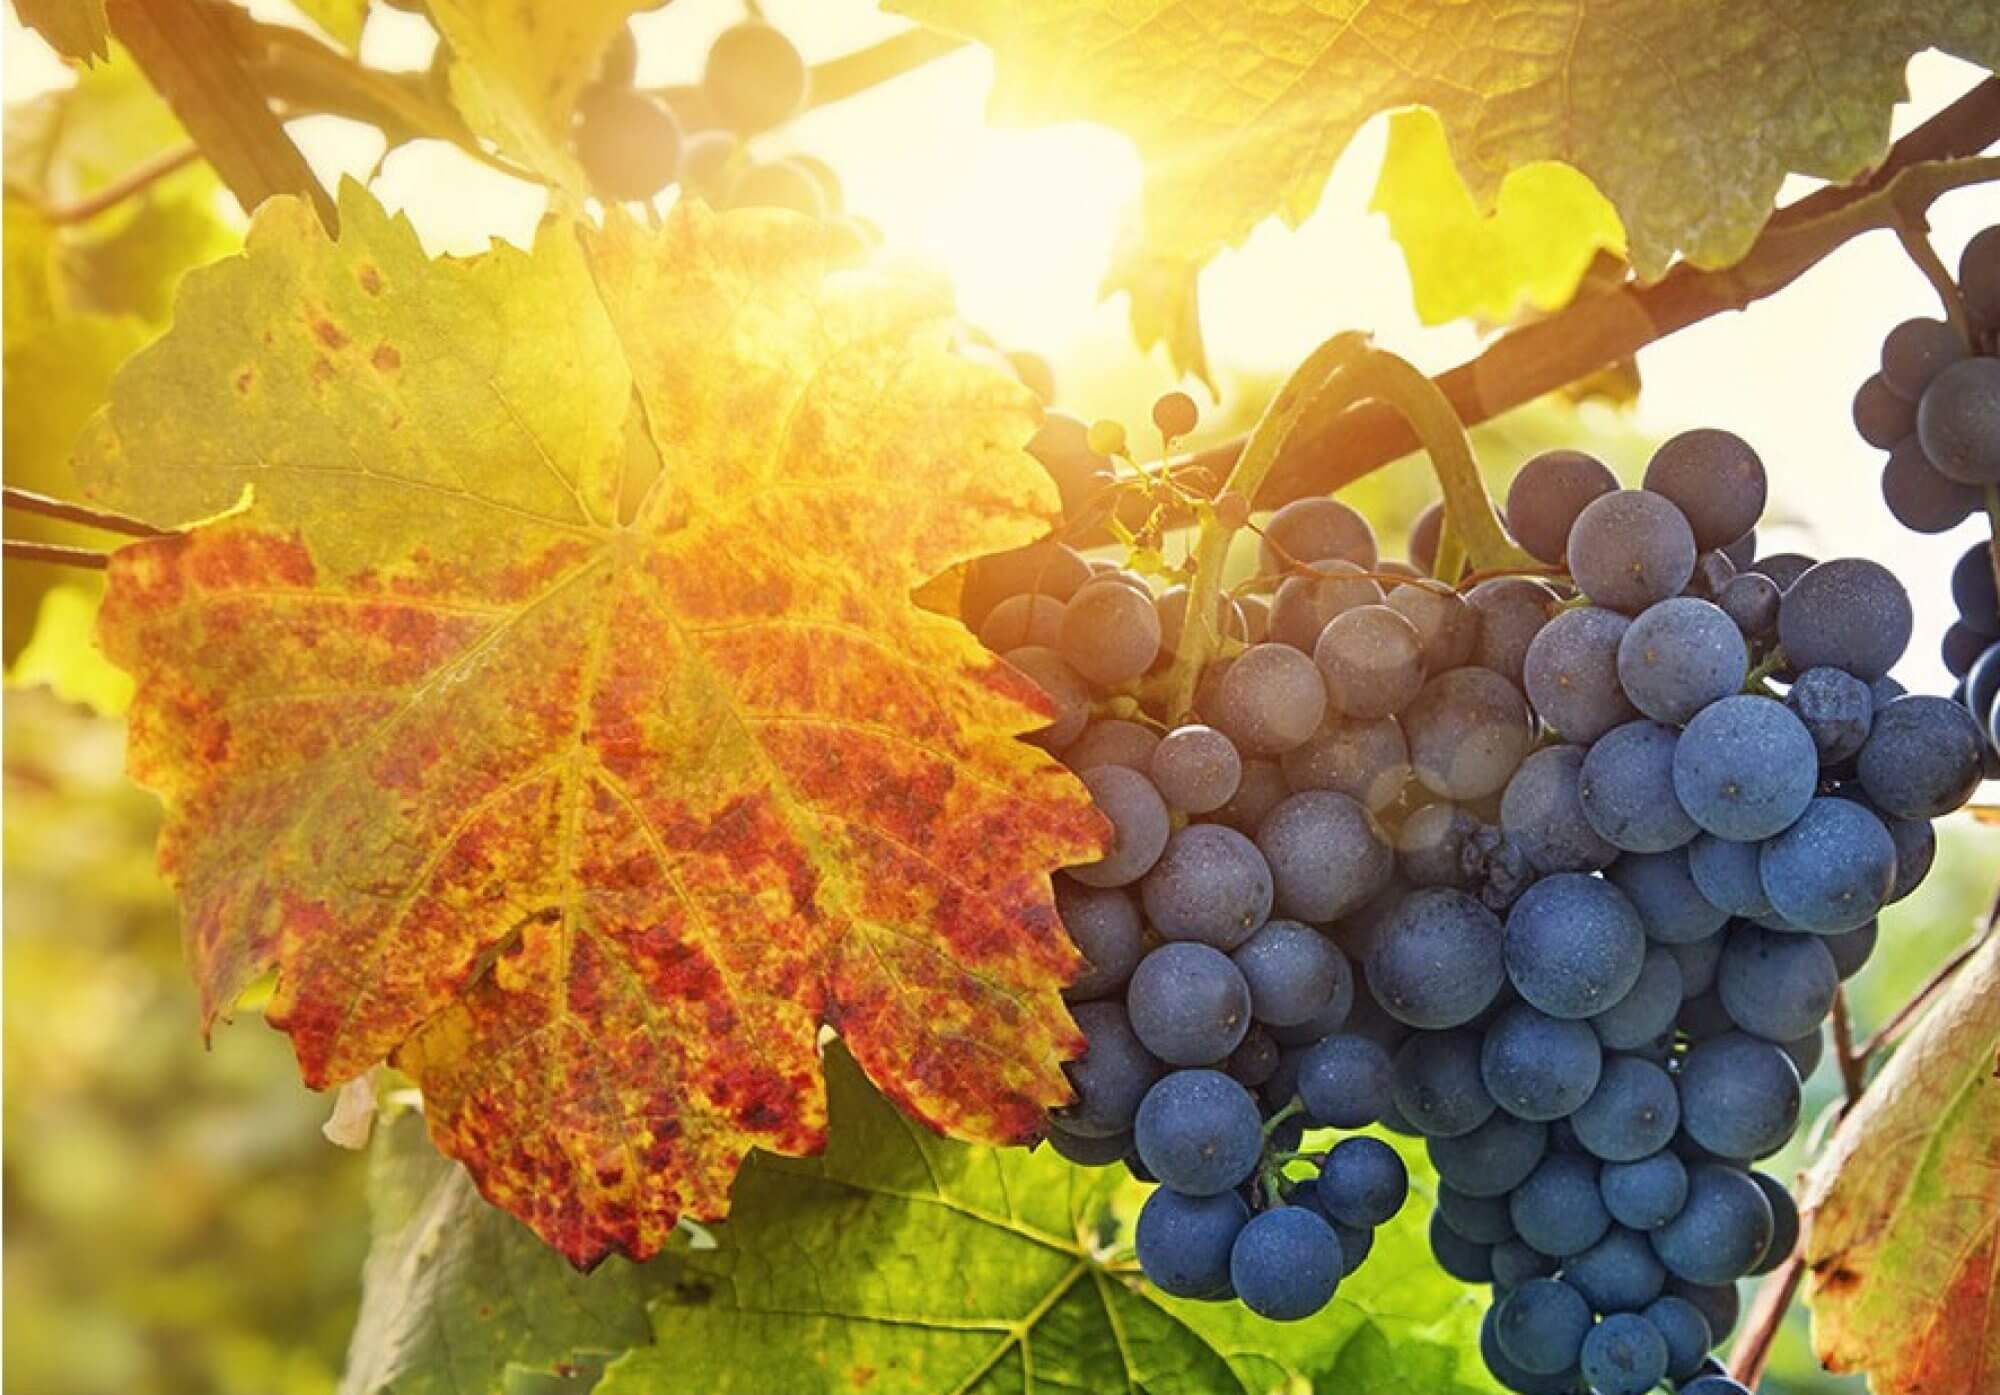
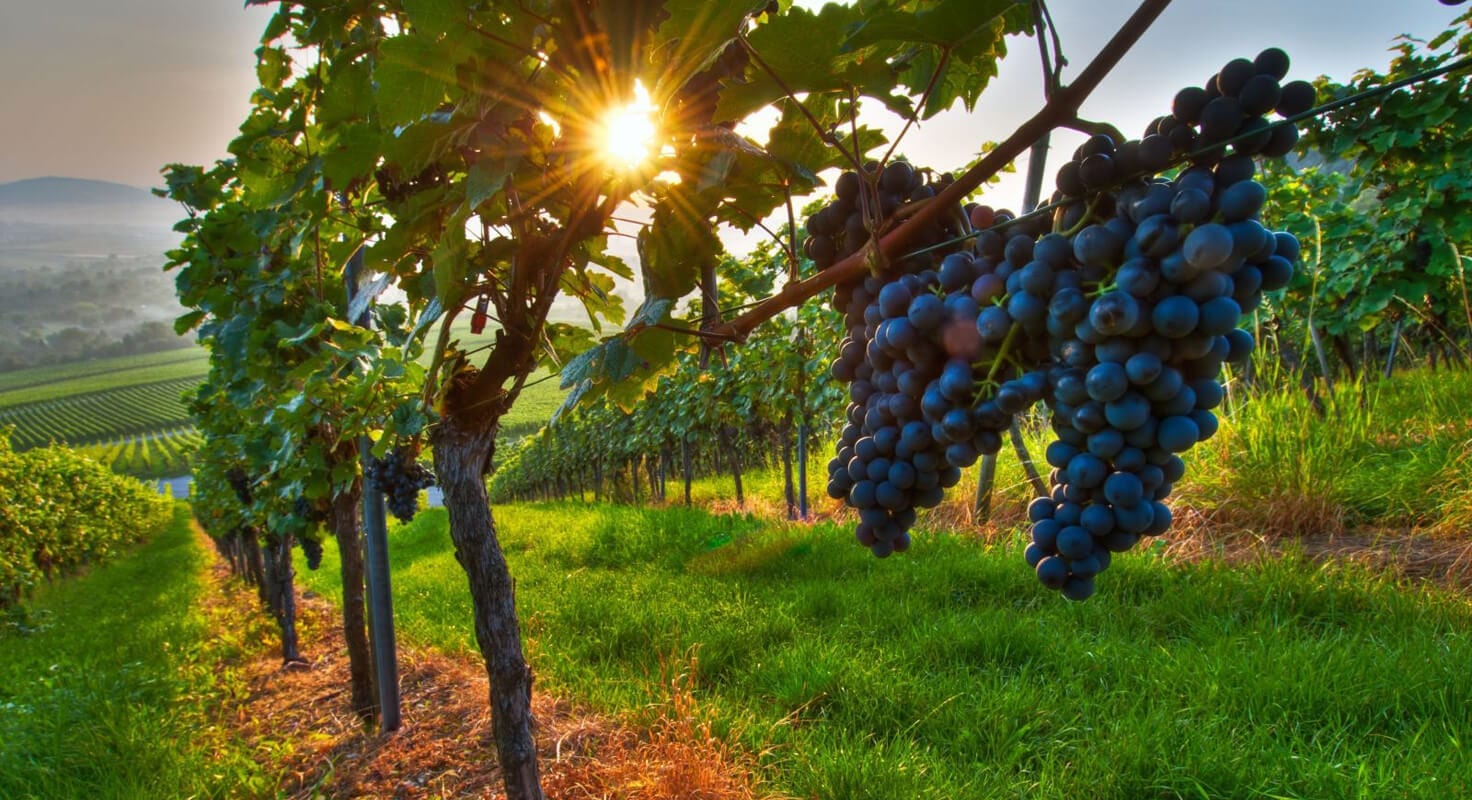
Clearly there’s nothing better than to make your own homemade grape juice unless your changing it into wine. Here’s a great article from ELISE BAUER. Step-by-step instructions with photos on how to make your own grape juice from scratch. If your looking to make wine, well here’s a good starting point. Changing grape juice into wine now that’s a tricky process. Late September and early October is Concord Grape season in Long Island’s North Fork’s – East End.
We used to make Grape juice from Welch’s frozen concentrate; sometimes the lid didn’t come off so easily and splat there went a purple goopy mess all over our shirts.
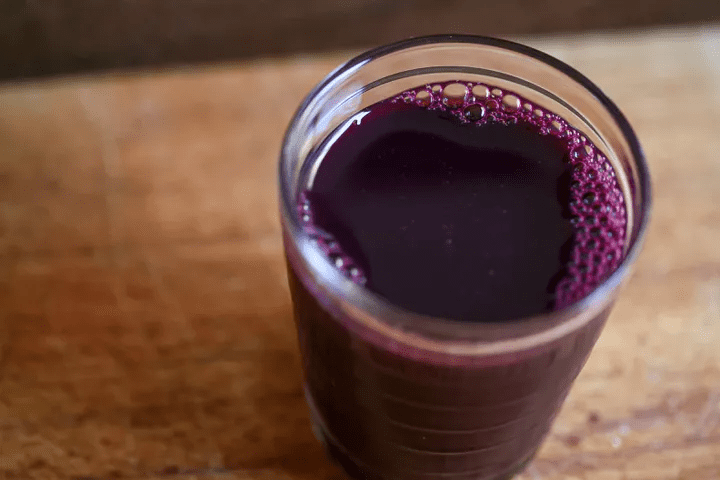
If you have never had fresh, homemade grape juice, I assure you, you are missing out; it’s nothing like anything you can buy in a store. It’s more like nectar than store bought juice, thick and smooth. We like to dilute it with sparkling water. Over the years we’ve learned that to make your own homemade grape juice it doesn’t really freeze well; it just doesn’t taste nearly as special upon defrosting. So when it’s in season, we drink it up.
This recipe uses Concord grapes which, according to my friends in Concord, Mass, still grow wild around those parts. I’m pretty sure you could use this grape juice recipe with any kind of sweet grape you like. Home Made Grape Juice Recipe
INGREDIENTS
Equipment needed
A colander for rinsing the grapes
1 large, 12-quart pot
1 large 6 or 8-quart pot
A very large fine mesh sieve, or cheesecloth
1. Pick the grapes. Get a large basket, wear long sleaves and a hat, bring clippers, and fill up the basket with grape bunches. Keep in mind that a pound of grapes will yield a little less than a cup of juice.
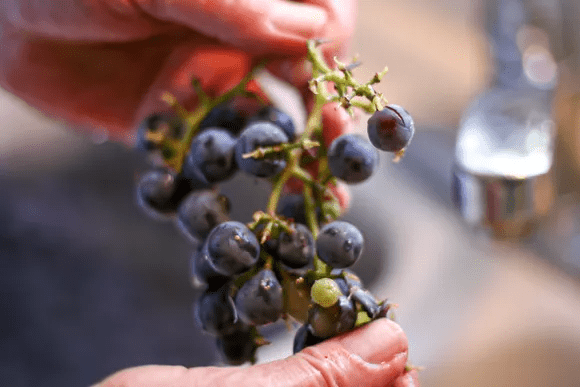
2. Rinse and de-stem the grapes. Put grapes in a basin filled with water. Then rinse the individual grapes, picking them away from the stem, collecting the grapes in a large bowl, and discarding the green unripe and old shriveled grapes.
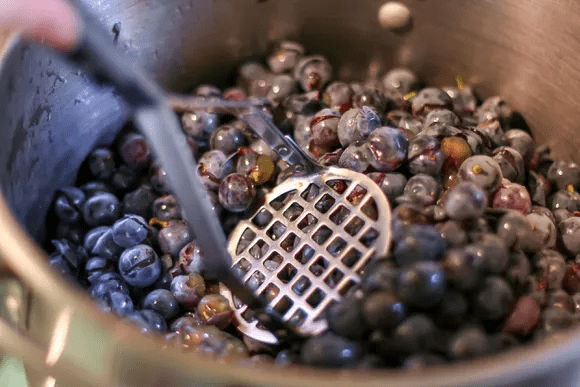
3. Mash the grapes. With a potato masher, mash away at the grapes so the juice begins to flow. If you have picked a lot of grapes, you may need to work in batches. We have found it easiest to mash about 4 lbs of grapes at a time.
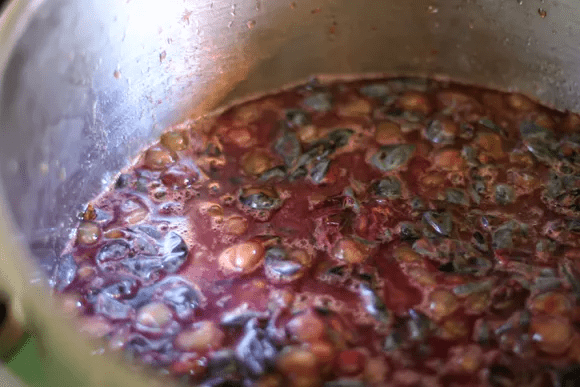
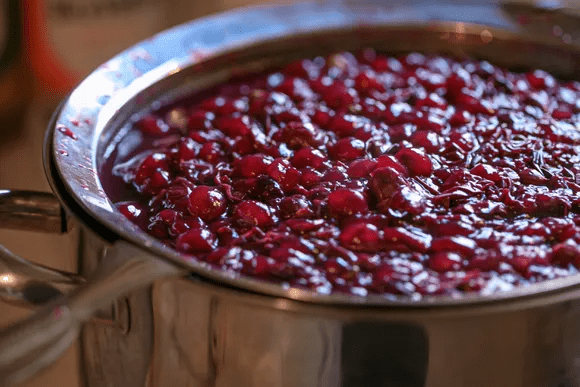
4. Cook the grapes. Put the mashed grapes into a large stockpot. Slowly heat the grapes and juice to a simmer on medium heat and then simmer for 10 minutes. Stir occasionally so that the grapes don’t stick to the bottom of the pan. Halfway through cooking mash some more, breaking up as many of the remaining grapes as possible.
5. Prepare sieve or cheesecloth. Get another large pot, place a large fine mesh sieve over it. Alternatively you can cover it with two layers of cheesecloth, secure with a rubber band. Make sure pot is sitting on a plate to catch any juice that may run over.
6. Strain grape mixture. Ladle grape mixture over fine mesh sieve or cheesecloth to strain. Let sit for several hours or overnight in the refrigerator to strain completely.
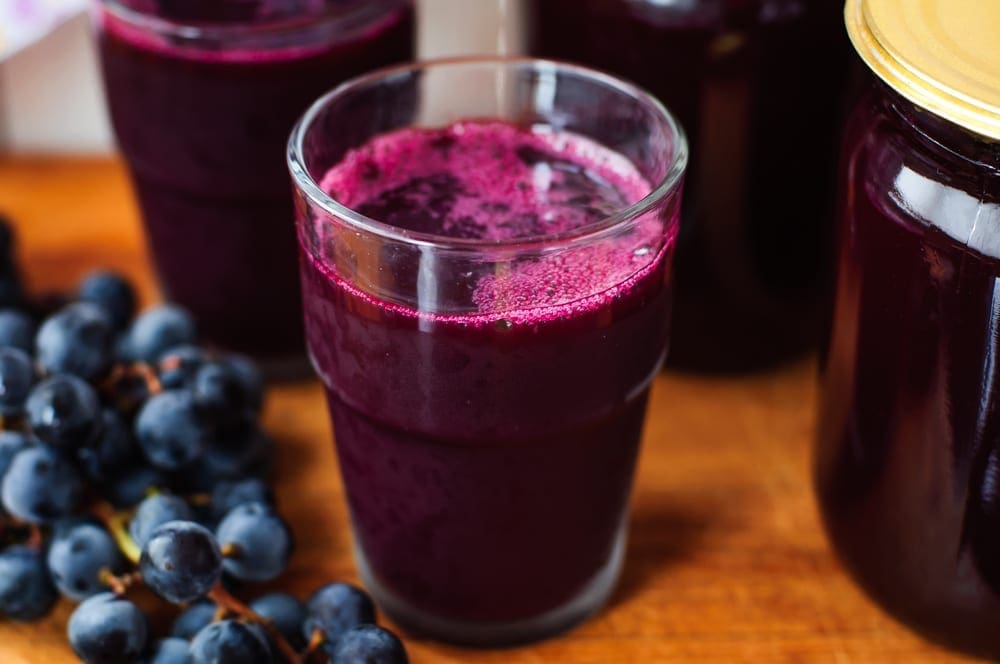
7. Finishing. Remove sieve or cheesecloth.* Note that sediment will have formed on the bottom of the container. Rinse out the sieve or cheesecloth and strain the juice again, to filter out some of the sediment. Pour or ladle juice into containers. Enjoy your juice!
* Note that the grape mash can be composted. NOW if your looking to make wine here’s a great video
HOW TO MAKE WINE
Have you ever wanted to make homemade wine? Here’s how.
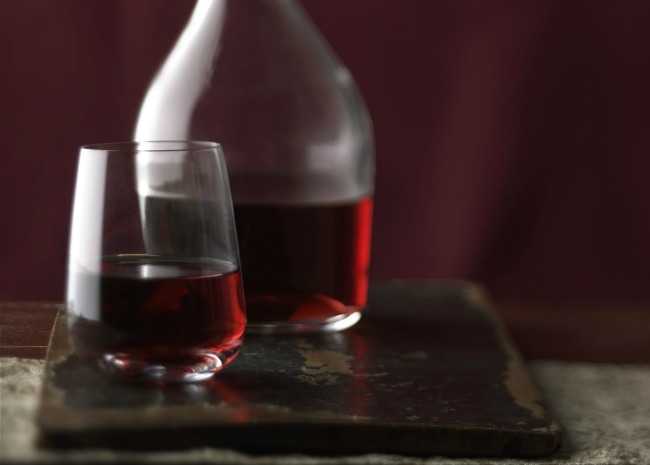
Red wine and carafe | Photo by Meredith
In theory, making wine is very simple, especially if you have already made your grape juice. Now yeast meets grape juice in an environment that allows fermentation. It’s such a natural process that wine was probably first discovered by happy accident thousands of years ago: Natural yeasts, blowing in the wind, settled down upon a bunch of squashed grapes, whose juice was pooling in the shaded bowl of a rock. After fermenting, some lucky passerby stops and stoops down for a taste…and likes what he discovers.
From there, the process of winemaking will be refined, as you can imagine, and the environment carefully controlled, to the point where winemaking becomes both science and art.
And DIY home winemaking? Well, it probably falls somewhere between the curious stone-age wanderer and the modern vintner who applies artful science to the process.
At any rate, winemaking at home requires several pieces of inexpensive equipment, serious cleanliness, and a mess of patience. Turns out, Tom Petty was right: “The waiting is the hardest part.”
Equipment Checklist:
One 4-gallon food-grade-quality plastic bucket and lid to serve as the primary fermentation vat
Three 1-gallon glass jugs to use as secondary fermentation containers
A funnel that fits into the mouth of the glass bottles
Three airlocks (fermentation traps)
A rubber cork (or bung) to fit into the secondary fermentation container
Large straining bag of nylon mesh
About 6 feet of clear half-inch plastic tubing
About 20 wine bottles (you’ll need 5 bottles per gallon of wine)
Number 9-size, pre-sanitized corks
Hand corker (ask about renting these from the wine supply store)
A Hydrometer to measure sugar levels
Ingredient Checklist:
Lots and lots of wine grapes
Granulated sugar
Filtered water
Wine yeast
To the above basic list you can refine the process by adding such things as Campden tablets to help prevent oxidation, yeast nutrients, enzymes, tannins, acids, and other fancy ingredients to better control your wine production.
Making Wine
Part 1
Ensure your equipment is thoroughly sterilized and then rinsed clean. (Ask at the wine supply store about special detergents, bleaches, etc.). It’s best to clean and rinse your equipment immediately before using.
Select your grapes, tossing out rotten or peculiar-looking grapes.
Wash your grapes thoroughly.
Remove the stems.
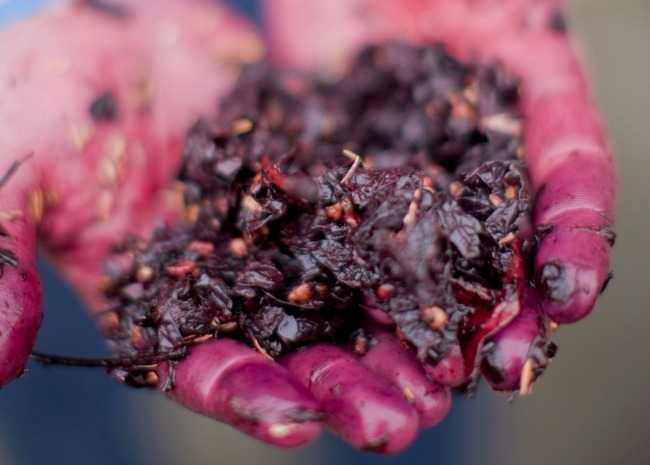
Crush the grapes to release the juice (called “must”) into the primary fermentation container. Your hands will work here as well as anything. Or go old school and stomp with your feet. If you’re making a lot of wine, you might look into renting a fruit press from a wine supply store.
Add wine yeast.
Insert the hydrometer into the must. If it reads less than 1.010, consider adding sugar. If you’re adding sugar, first dissolve granulated sugar in pure filtered water (adding sugar helps boost low alcohol levels). Stir the must thoroughly.
Cover primary fermentation bucket with cloth; allow must to ferment for one week to 10 days. Over the course of days, fermentation will cause a froth to develop on top and sediment to fall to the bottom.
Making Grape Juice into Wine| Photo by Meredith
Part 2
Gently strain the liquid to remove the sediment and froth.
Run the juice through a funnel into sanitized glass secondary fermentation containers. Fill to the top to reduce the amount of air reaching the wine.
Fit the containers with airlocks.
Allow the juice to ferment for several weeks.
Use the plastic tube to siphon the wine into clean glass secondary fermentation containers. Again, the purpose here is to separate the wine from sediment that forms as the wine ferments.
Continue to siphon the wine off the sediment periodically (this is called “racking”) for 2 or 3 months until the wine is running clear.
Part 3
Run the wine into bottles (using the cleaned plastic tubing), leaving space for the cork plus about a half inch or so of extra room.
Insert corks.
Store the wine upright for the first three days.
After three days, store the wine on its side at, ideally, 55 degrees F. For red wine, age for at least 1 year. White wine can be ready to drink after only 6 months.
We hope you enjoyed these 2 articles that we put together and hope you’ll try either to make your own homemade grape juice or turning it into home made Wine yourselves. Lets not forget if you want to do some wine tastings then LI Vineyard Tours® is the transportation company for you.
Please call us at (516)-WINE-TOURS / (516)-946-3868 anytime to schedule a Long Island Wine Tour.